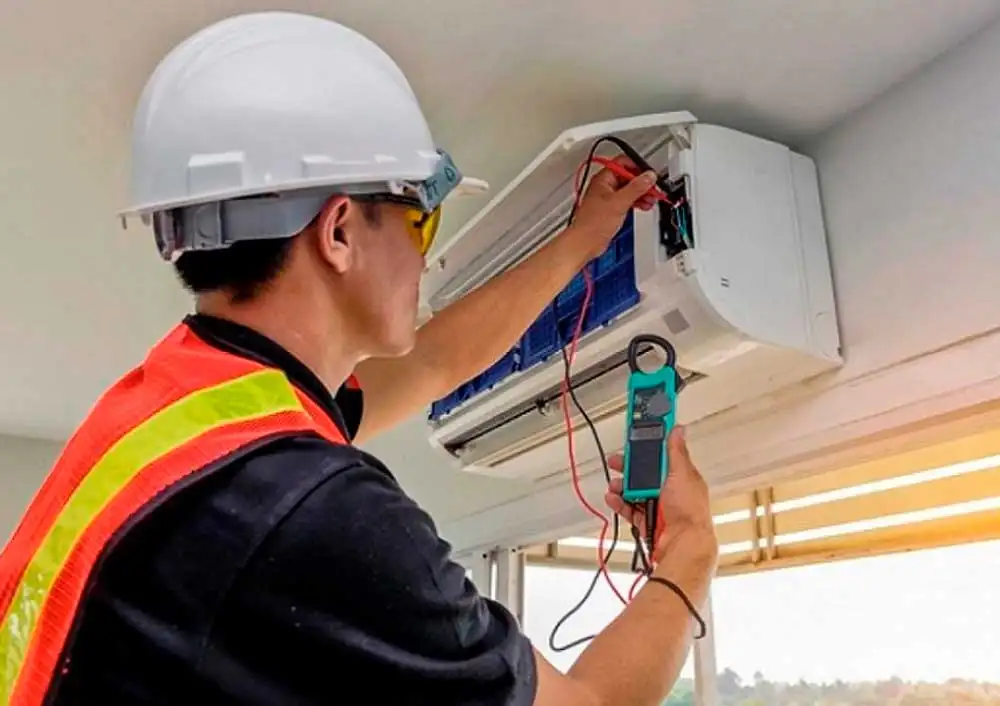
Air conditioning installation is more than just plugging in a unit. It’s a meticulous process that requires expertise, precision, and a deep understanding of HVAC systems. From initial planning to the final cool breeze, let’s delve into the intricate steps involved in bringing climate comfort to your space.
The Pre-Installation Planning
Before any tools are touched, a thorough assessment is crucial. This involves:
- Site Inspection: Determining the best location for the indoor and outdoor units is paramount. Factors such as sunlight, obstructions, and electrical outlets are considered.
- Unit Selection: Choosing the right AC capacity is essential for optimal performance and energy efficiency.
Undersized or oversized units can lead to discomfort and higher utility bills.
- Electrical Requirements: Verifying the electrical supply to accommodate the AC’s power needs is a safety precaution. Any necessary upgrades or modifications are planned.
- Ductwork Assessment: For central air systems, the existing ductwork is evaluated for its condition, size, and insulation. Any issues are addressed before installation and read about Ac installation guide.
The Installation Process
Once the groundwork is laid, the installation begins:
Indoor Unit Installation
- Mounting Bracket: A sturdy bracket is securely fixed to the wall to support the indoor unit.
- Drain Line Installation: A condensate drain line is routed to a suitable drainage point to remove moisture produced by the AC.
- Electrical Connections: The power supply is connected to the indoor unit according to the manufacturer’s instructions.
- Copper Line Installation: The copper lines carrying refrigerant are run from the outdoor unit to the indoor unit.
- Indoor Unit Placement: The indoor unit is carefully lifted and mounted on the bracket.
- Wiring and Connections: Electrical connections between the indoor and outdoor units are made, ensuring proper polarity.
Outdoor Unit Installation
- Site Preparation: A level and stable base is prepared for the outdoor unit, often a concrete pad or wooden platform.
- Unit Placement: The outdoor unit is positioned on the prepared base, ensuring adequate airflow around it.
- Copper Line Connections: The copper lines from the indoor unit are connected to the outdoor unit. These connections are crucial for the refrigerant system’s integrity.
- Electrical Connections: The outdoor unit is connected to the power supply.
- Drain Line Installation: If applicable, a drain line is installed to remove condensate from the outdoor unit.
- Securing the Unit: The outdoor unit is secured to prevent movement or tipping.
Vacuum and Charging
- Vacuuming the System: The entire refrigerant system is evacuated to remove air and moisture. This is vital for the AC’s efficiency and longevity.
- Charging with Refrigerant: The system is filled with the correct amount of refrigerant, as specified by the manufacturer.
-
Testing and Commissioning
- Startup: The AC is turned on for the first time to check for proper operation.
- Performance Evaluation: The system’s cooling capacity, airflow, and temperature control are assessed.
- Final Adjustments: Any necessary adjustments are made to optimize the AC’s performance.
- Customer Education: The homeowner is instructed on the AC’s operation, maintenance, and troubleshooting.
Additional Considerations
- Types of Air Conditioning Systems: While this article focuses on split systems, the installation process varies for window units, ductless mini-splits, and central air systems.
- Professional Installation: Hiring a qualified HVAC technician is strongly recommended to ensure proper installation, safety, and warranty coverage.
- Maintenance and Care: Regular maintenance is essential for prolonging the AC’s lifespan and optimal performance.
Conclusion
Air conditioning installation is a complex process that demands expertise and precision. By understanding the key steps involved, homeowners can make informed decisions and appreciate the skilled work that goes into creating a comfortable indoor environment.
FAQs
Q: How long does AC installation typically take?
A: The installation time varies depending on the size of the unit, the complexity of the installation, and other factors. On average, it can take anywhere from a few hours to a full day.
Q: How much does AC installation cost?
A: The cost of AC installation depends on several factors, including the size of the unit, the type of system, labor costs, and additional services like ductwork or electrical upgrades. It’s best to get quotes from multiple HVAC contractors.
Q: What factors should I consider when choosing an AC unit?
A: When selecting an AC unit, consider the size of your home, your cooling needs, energy efficiency ratings (SEER), and your budget. Consulting with an HVAC professional can help you choose the right unit.
Q: Can I install an AC unit myself?
A: While it’s possible to install a window unit yourself, professional installation is recommended for central air systems and ductless mini-splits. Improper installation can lead to performance issues, safety hazards, and void the warranty.
