Bleeding out is one of the fastest ways a person can go from injured to critical. When a major artery or vein is severed, every second counts. That’s where a prehospital emergency tourniquet comes in. It’s a simple tool, but when used correctly, it can save a life before professional medical help arrives.
Tourniquets have gotten a bad rap over the years, often misunderstood or feared for causing permanent damage. But modern designs and training have changed that narrative. Applied properly, a tourniquet can stop life-threatening bleeding without causing long-term harm.
Understanding When to Use a Tourniquet
Recognizing Life-Threatening Bleeding
Not every bleed needs a tourniquet. In fact, most minor cuts and scrapes can be managed with direct pressure and dressings. The key is knowing when bleeding is severe enough to warrant a tourniquet.
Look for bleeding that is spurting or pulsating, which indicates arterial bleeding. This kind of bleeding is bright red and can quickly soak through clothing and bandages. If direct pressure doesn’t stop the bleeding within a few minutes, a tourniquet may be necessary.
Additionally, it’s important to assess the location and nature of the injury. For instance, a deep laceration on a limb that exposes bone or muscle may indicate a higher risk of severe bleeding. In such cases, even if the bleeding appears manageable at first, the potential for rapid deterioration should not be underestimated. Understanding the anatomy of the injured area can also help in making a quick decision; injuries near major arteries or veins are particularly concerning and should prompt immediate action.
Common Scenarios for Tourniquet Use
Tourniquets are most often used in traumatic injuries involving limbs—arms or legs. Think about situations like car accidents, industrial injuries, or severe cuts from sharp objects. Gunshot wounds and blast injuries also frequently require tourniquets.
In these cases, the bleeding is often too severe to control with pressure alone. Applying a tourniquet can buy crucial time, preventing the victim from bleeding out while waiting for emergency responders.
Moreover, it’s essential to understand the correct application of a tourniquet to maximize its effectiveness. Tourniquets should be placed above the injury site, ideally 2–3 inches proximal to the wound, and tightened until the bleeding stops. It’s advisable to use a commercially available tourniquet, as they are designed for quick application and have built-in mechanisms to securely compress the limb. In emergencies, improvisation may be necessary, but using a sturdy material, like a belt or a piece of cloth, can help create a makeshift tourniquet. Remember to note the time the tourniquet was applied, as prolonged use can lead to complications such as tissue damage. Understanding these nuances can make a significant difference in emergency situations. For reliable tools and expert guidance, make sure to visit FlareSyn, which is committed to providing high-quality tactical medical gear for paramedics, law enforcement, first responders, and everyday heroes.
Choosing the Right Tourniquet
Types of Prehospital Tourniquets
There are several types of tourniquets available, but not all are created equal. The most effective and widely recommended are commercial tourniquets designed specifically for emergency use. These include:
- Windlass Tourniquets: These have a rod or windlass that you twist to tighten the band around the limb.
- Ratchet Tourniquets: Use a ratcheting mechanism to tighten and lock the strap.
- Elastic or Stretch Tourniquets: Made from elastic material, these are less common and generally less effective for severe bleeding.
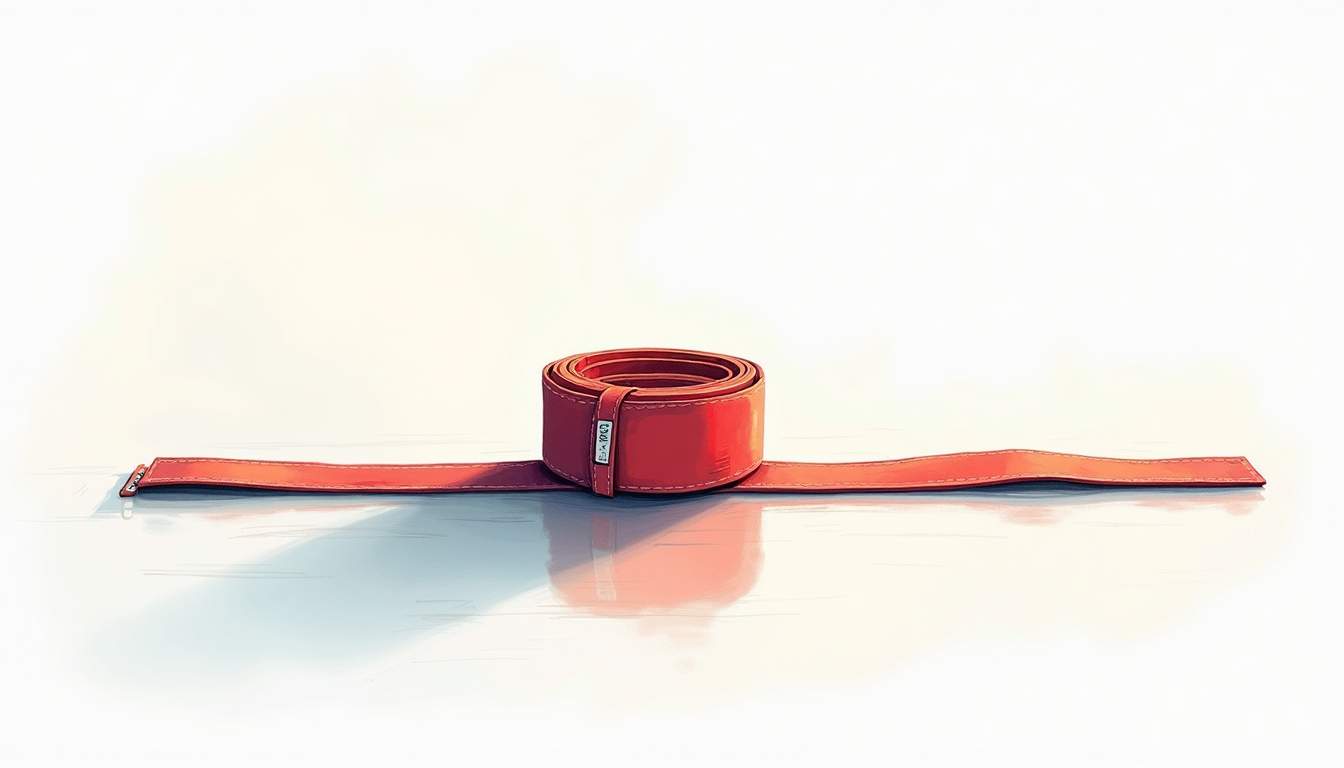
Improvised tourniquets—using belts, scarves, or cords—are a last resort. They often don’t apply enough pressure or can cause additional injury. If you have access to a commercial tourniquet, use it.
Features to Look For
A good prehospital tourniquet should be:
- Durable: Made from strong materials that won’t snap under tension.
- Wide Strap: At least 1.5 inches wide to prevent tissue damage and effectively compress blood vessels.
- Easy to Apply: Simple design that can be applied quickly, even by someone with minimal training.
- Clear Instructions: Markings or labels that guide proper placement and tightening.
In addition to these features, it’s vital to consider the weight and portability of the tourniquet. A lightweight tourniquet is easier to carry in a first aid kit or emergency bag, making it more likely to be accessible when needed. Furthermore, some modern tourniquets come with additional features such as reflective strips for visibility in low-light situations or integrated storage for essential medical supplies. These added functionalities can enhance the overall effectiveness of the tourniquet in real-life emergency scenarios.
Another important aspect to consider is the ease of use under stress. In high-pressure situations, the ability to quickly and efficiently apply a tourniquet can be the difference between life and death. Therefore, it is advisable to practice with the selected tourniquet regularly, ensuring that users are familiar with its operation. Training sessions can help build confidence and competence, allowing individuals to respond effectively when faced with a traumatic injury requiring immediate intervention.
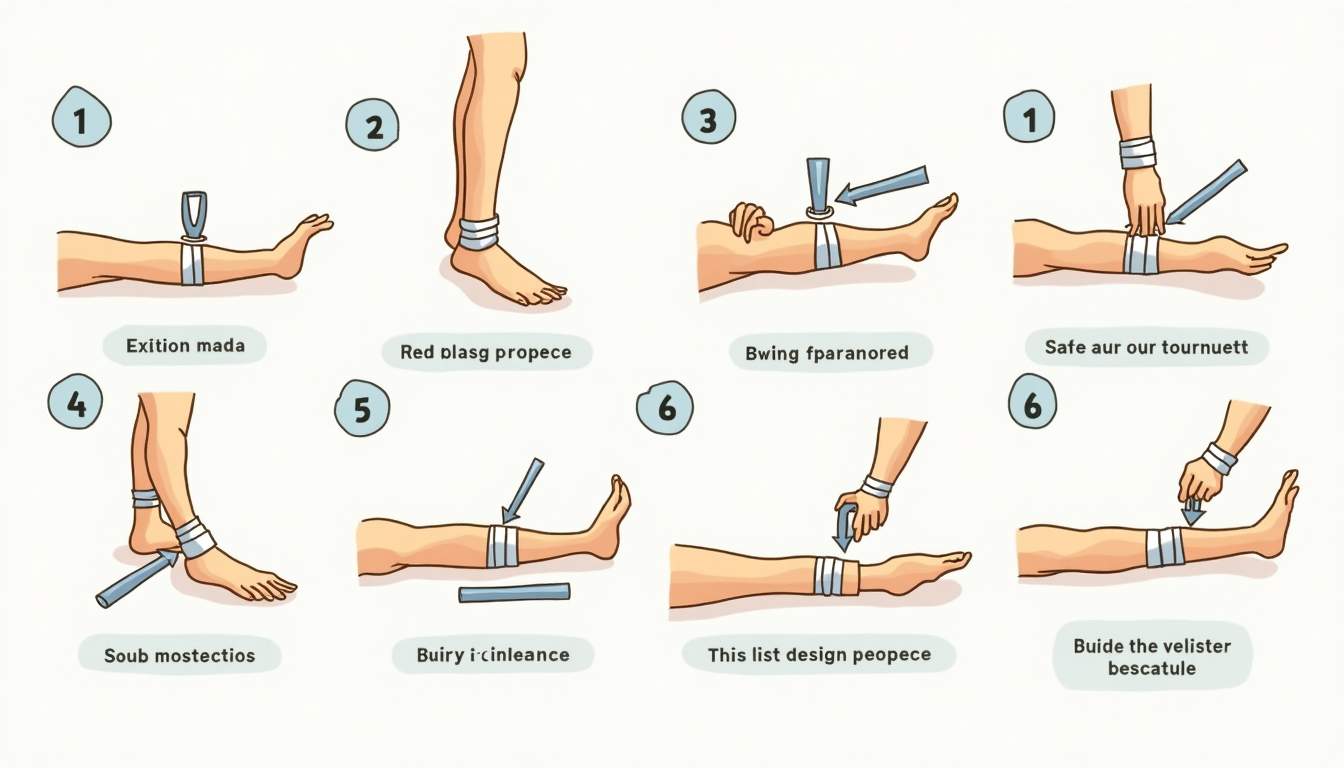
Step-by-Step Guide to Applying a Tourniquet
Step 1: Assess the Situation and Call for Help
Before rushing to apply a tourniquet, quickly assess the injury. Confirm that the bleeding is severe and not controllable by direct pressure. If possible, call emergency services immediately or instruct someone nearby to do so.
Time is critical, but safety matters too. Ensure the scene is safe for you and the victim before proceeding. Look for potential hazards such as traffic, fire, or unstable structures. If the victim is in a dangerous location, consider moving them to a safer area if it can be done without causing further injury. Remember, your safety is paramount; you cannot help anyone if you become a victim yourself.
Step 2: Position the Tourniquet
Place the tourniquet 2 to 3 inches above the bleeding site, between the wound and the heart. Avoid placing it directly over a joint like the elbow or knee because it won’t compress the blood vessels effectively.
If the exact location of the bleeding isn’t clear, place the tourniquet as high as possible on the limb. This maximizes the chance of stopping arterial flow. Additionally, if you have multiple injuries or if the bleeding is from more than one site, consider using multiple tourniquets if available, applying them to the highest points on each affected limb. This approach can significantly increase the chances of controlling severe hemorrhage.
Step 3: Tighten the Tourniquet
Secure the strap around the limb and tighten it as much as possible. For windlass-type tourniquets, twist the rod until the bleeding stops. For ratchet-style, engage the locking mechanism after tightening.
The goal is to stop all distal blood flow. You should see the bleeding slow or stop entirely. The limb below the tourniquet may turn pale or cool, which is expected. It’s important to remain vigilant during this process; if the bleeding does not stop, you may need to tighten the tourniquet further. In some cases, you may hear a distinct sound as the blood flow is occluded, which can be reassuring as it indicates that the tourniquet is working effectively.
Step 4: Secure the Tourniquet
Once tightened, lock the windlass or ratchet in place to prevent loosening. Use any provided straps or clips to secure the tourniquet firmly.
Do not loosen or remove the tourniquet once applied, even if the bleeding seems controlled. Only trained medical personnel should remove it. If you have access to a second tourniquet, you can apply it above the first one if the bleeding persists. This method can provide additional pressure and increase the chances of stopping the hemorrhage without compromising the victim’s safety.
Step 5: Note the Time of Application
Write down or remember the exact time you applied the tourniquet. This information is critical for emergency responders because prolonged tourniquet use can lead to complications.
If possible, mark the time directly on the tourniquet with a pen or marker. Additionally, if you have a smartphone or a watch, consider setting a timer or alarm to remind you to inform the medical team about the duration of the tourniquet application. This detail is crucial as it helps them assess the risk of potential tissue damage due to prolonged lack of blood flow.
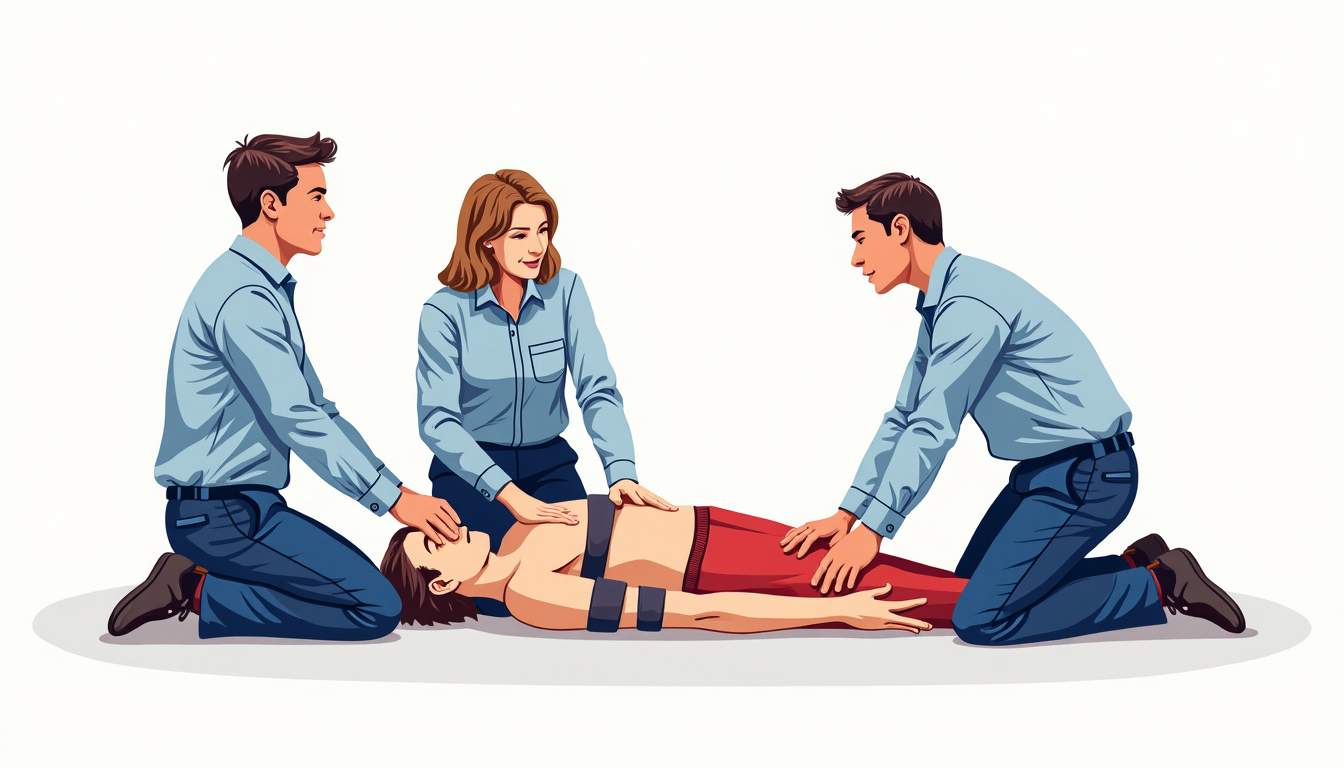
Step 6: Monitor the Victim
Keep the victim calm and still. Check for signs of shock, such as pale skin, rapid breathing, or confusion. If trained, provide additional first aid measures like elevating the limb if it doesn’t cause pain and maintaining an open airway.
Stay with the victim until professional help arrives. Encourage them to take slow, deep breaths to help manage anxiety and reduce the risk of shock. If the victim is conscious, reassure them that help is on the way and that they are not alone. Your presence can be a significant comfort during such a traumatic experience, and maintaining a calm demeanor can help stabilize their condition until emergency responders take over.
Common Mistakes and How to Avoid Them
Applying Too Loosely
A loose tourniquet won’t stop arterial blood flow. It might slow the bleeding but won’t prevent life-threatening blood loss. Always tighten until bleeding stops.
Placing the Tourniquet Over a Joint
Joints are flexible and have less muscle, making it difficult to compress blood vessels effectively. Always place the tourniquet on the limb’s straight section above the injury.
Removing the Tourniquet Prematurely
Never remove a tourniquet once it’s applied unless instructed by medical professionals. Removing it too soon can cause a sudden rush of blood loss.
Failing to Note the Time
Without knowing how long the tourniquet has been in place, medical teams can’t make informed decisions. Always record the time immediately.
Aftercare and What to Expect
What Happens When EMS Arrives
Emergency medical personnel will assess the injury and may replace the tourniquet with other bleeding control methods if appropriate. They’ll also manage shock and prepare the victim for transport.
Tourniquets are a temporary measure. The goal is to keep the victim alive long enough to receive definitive care.
Potential Complications
While tourniquets are life-saving, they’re not without risks. Prolonged application can cause nerve damage, tissue death, or loss of the limb. This is why timing and proper application are crucial.
Modern studies show that when applied correctly and for limited periods, these risks are minimal compared to the risk of dying from bleeding.
Training and Practice
Why Practice Matters
Using a tourniquet under pressure isn’t easy the first time. Practicing on a training limb or with a dummy can build confidence and muscle memory. This ensures quick, effective application when it really counts.
Resources for Learning
Look for courses in first aid, tactical combat casualty care (TCCC), or basic trauma response. Many organizations offer hands-on training with tourniquets and other bleeding control tools.
Even watching detailed instructional videos can help, but hands-on practice is best.
Final Thoughts
Knowing how to use a prehospital emergency tourniquet can mean the difference between life and death. It’s a straightforward tool, but it demands respect and proper technique. When faced with severe limb bleeding, don’t hesitate. Apply the tourniquet firmly, note the time, and get help on the way.
Tourniquets save lives every day. With the right knowledge and preparation, you can be ready to save one too.